
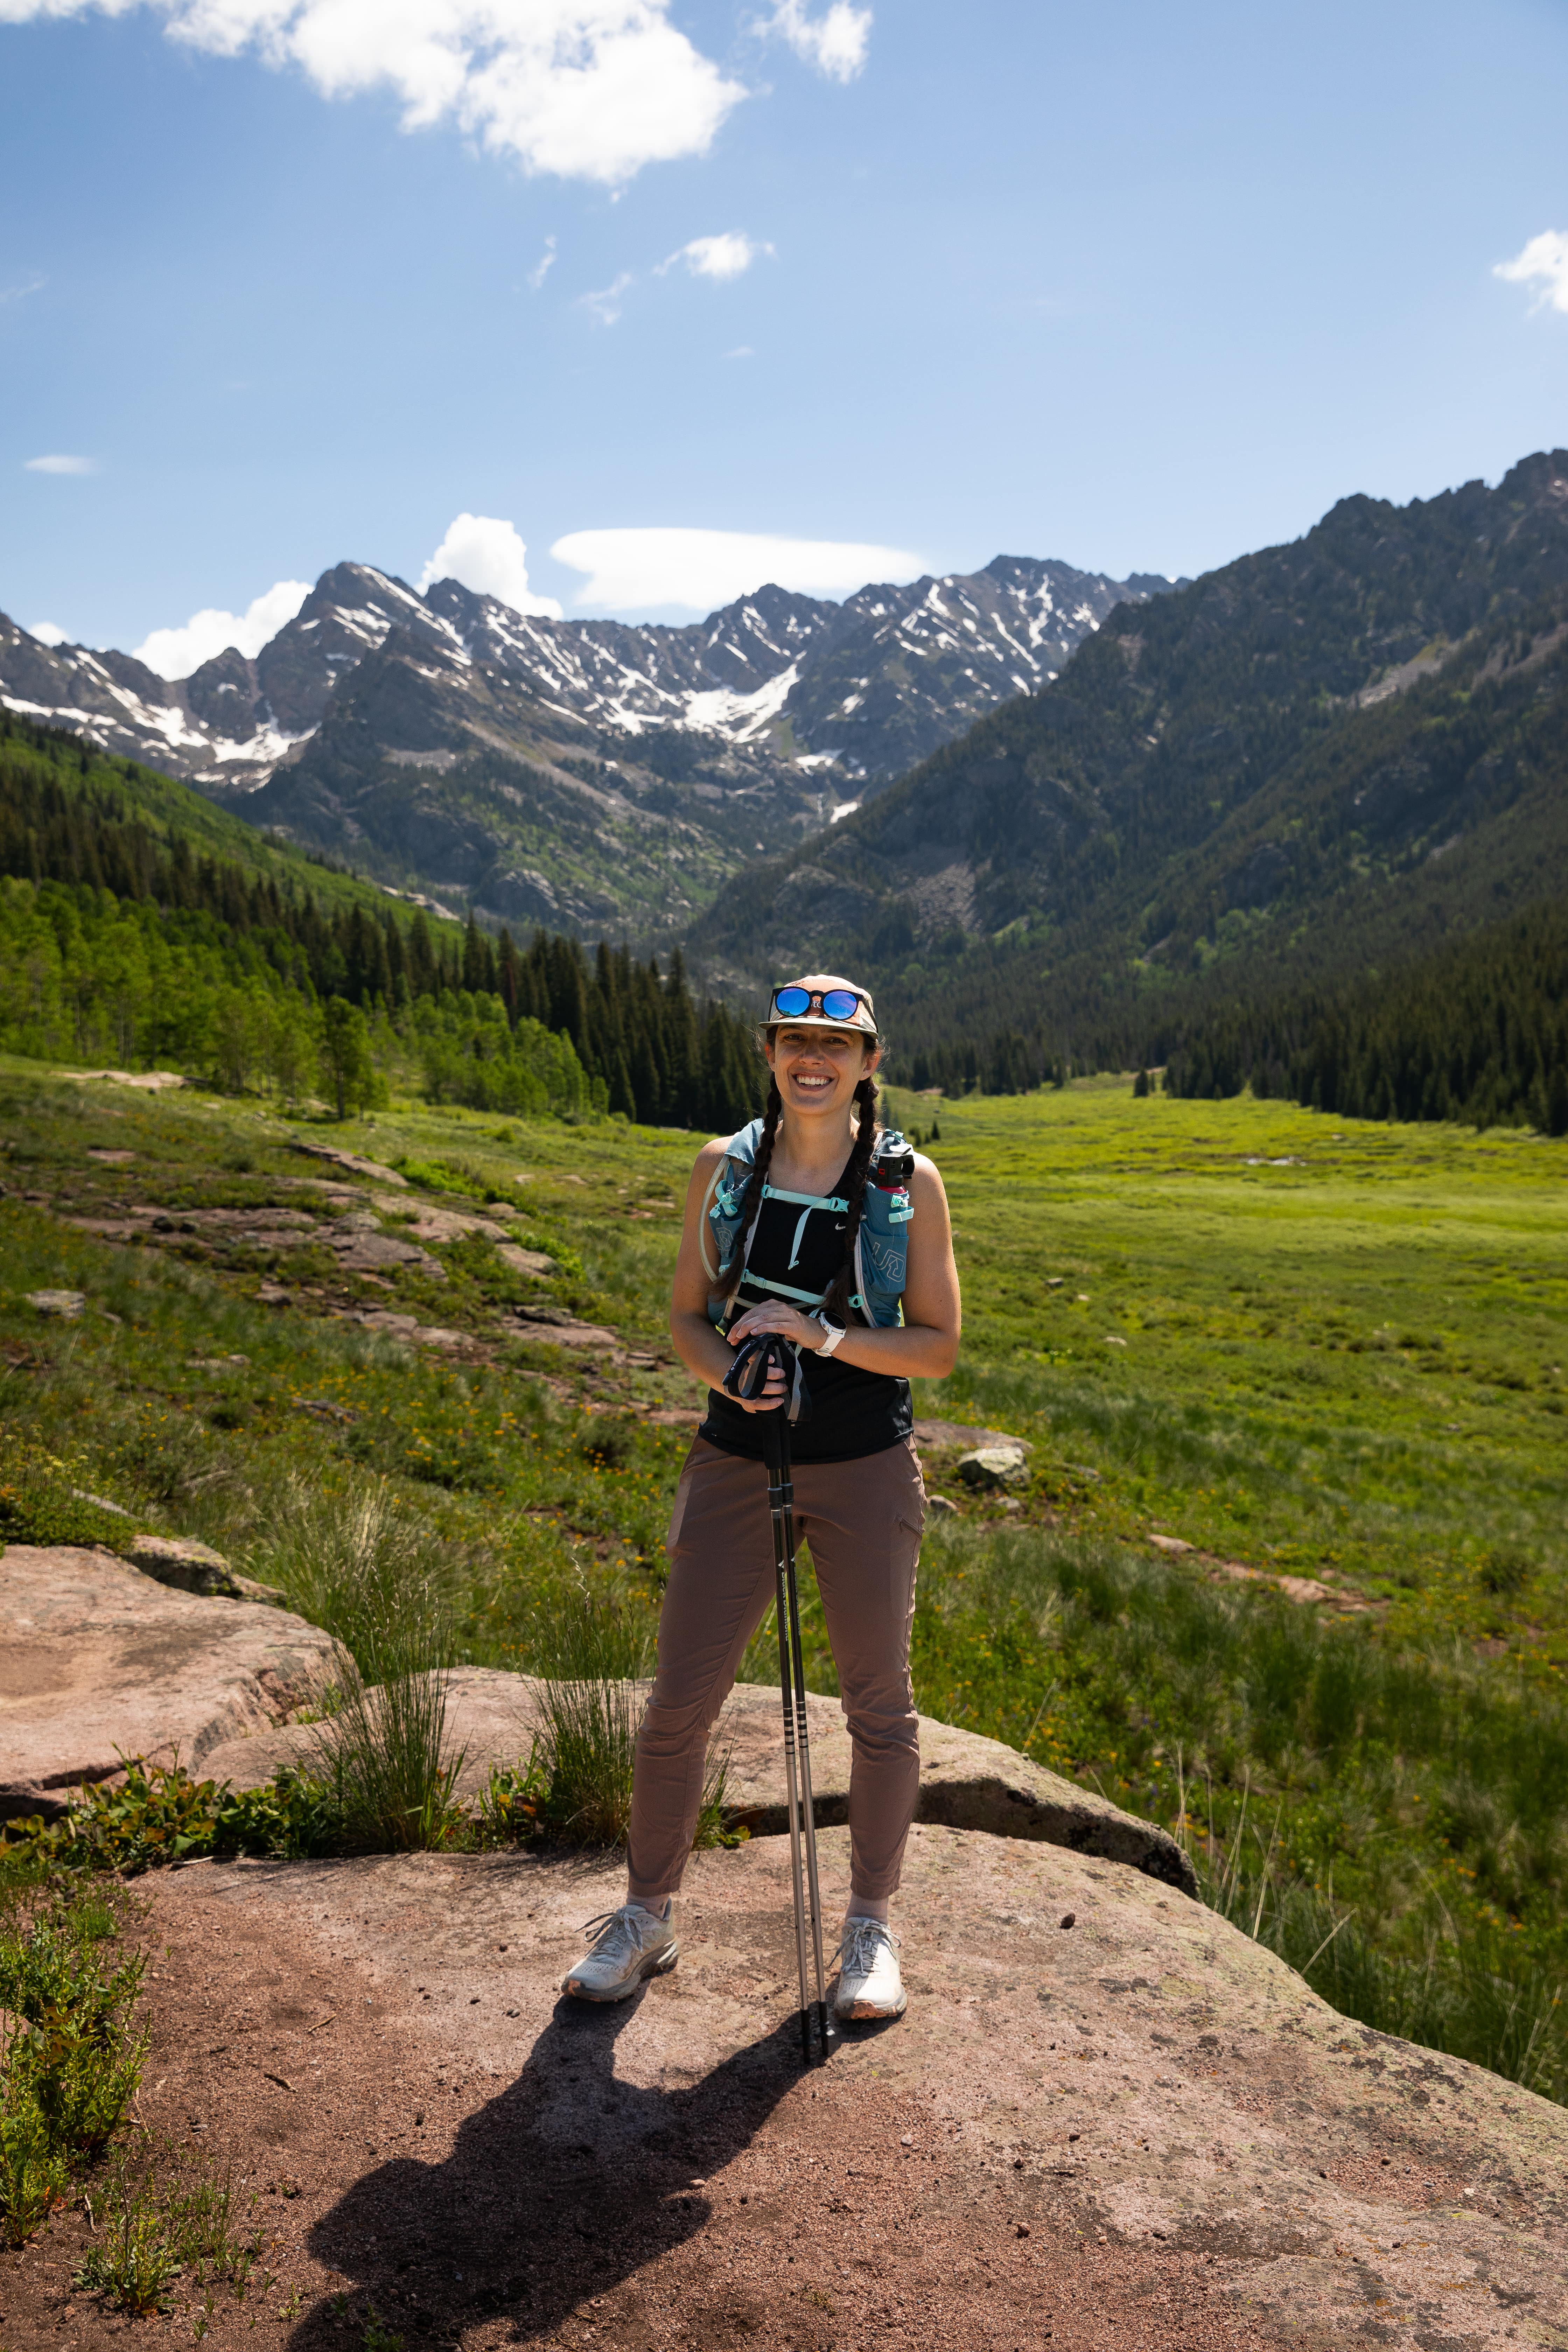
Running/Hiking
If you want to get better at hiking, you need to hike. But it takes more than just walking on dirt, climbing rocks, and stepping over tree roots to improve your hiking abilities. Hiking can take you through steep climbs, uneven terrain, and long distances that need more preparation than what can be done on a trail alone. Enter: strength training.
Strength training for hikers leads to hiking further, carrying a heavier pack, and managing uneven terrain with more ease. By following a structured training program built for hikers, you’ll be able to build strength, power, and endurance for the trails and beyond.
Ready to gain strength and power for the trails? Start your free 7-day trial of Kathletics Trail today!

Strength training for your lower body is essential if you want to hike further, more powerfully, and with more ease. Each of the following exercises has a place in your training program throughout the in-season and off-season.
How to squat:
1. Stand with your feet between hip- and shoulder-width apart with toes either forward or slightly angled out.
2. Squat down by bending at your knees and sitting back in your glutes.
3. Keep your knees in line with your second and third toes.
4. Press up through your whole foot and use your glutes and quads to stand tall again.
5. Keep a proud chest, flat back, and strong core the whole time.
Squats are versatile – you can use multiple modalities, weight distributions, or stances to suit your needs. Feel free to use a barbell, kettlebell, dumbbells, or other type of weight.
Why squats are helpful for hikers: Squats build strength in your quads, glutes, hamstrings, and core, which are all essential for steep climbs going uphill and downhill.
How to deadlift:
1. Stand with your feet underneath your hips with toes facing forward. Keep equal pressure throughout both feet.
2. Brace your core and think about squeezing oranges in your armpits to engage your lats.
3. Think about pressing the floor away from you as you stand using your glutes and hamstrings. Keep the weight in line with your mid-foot throughout the exercise.
4. To lower the weight, hinge at your hips (send your hips back) and bend slightly at the knees.
Similar to squats, you can use a variety of weights for deadlifts. You can use a barbell, kettlebell, dumbbells, or hex bar for deadlifts.
Why deadlifts are helpful for hikers: Deadlifts develop strength and power in your glutes, hamstrings, and stabilizers like your core and back. Deadlifts help you build a foundation for strong hips while ascending and descending on the trails.
How to do step ups:
1. Plant one foot on the step and keep equal pressure throughout.
2. Press through your glute and quad to stand and place the other foot on the step.
3. Step back down with the same foot in a controlled manner.
4. Keep the original foot on the step the whole time until all reps have been performed, then switch to the other side.
You can use a barbell, kettlebell, dumbbells, or other equipment, along with manipulating weight distribution with where you hold the weight.
Why step ups are helpful for hikers: This exercise closely mimics hiking, therefore it assists in preparing your for steep climbs. Step ups help develop unilateral power, endurance, and stability for your hikes.
How to do lateral lunges:
1. Take a wide step out to your side.
2. Sit back into your glutes and bend at the knee of the leg you stepped out with. Keep the other leg extended.
3. Press up through your whole foot and use your glute and quad to return to the standing position.
4. Keep your chest proud and back flat throughout the exercise.
5. Perform all reps on one side before switching to the other.
You can use a barbell, kettlebell, dumbbells, or other equipment, along with adjusting how you hold the weight to make the exercise easier or harder.
Why lateral lunges are helpful for hikers: Lateral lunges help build hip and ankle stability, which are both necessary for hikers. It also prepares you for uneven terrain where you may need to step laterally with little notice.
How to do single-leg RDLs:
1. Plant one foot firmly on the ground. Keep all three points of your foot in contact with the ground throughout the movement.
2. Keep the knee of the planted foot soft as you hinge at your hips.
3. Focus on hinging at your hips, not on your chest going toward the ground. Your other leg does not need to be straight or reach back far at all. Focus on keeping your hips square to the ground the whole time.
4. Use your hamstring and glute to return to the standing position.
5. Keep your back flat, shoulders back, neck neutral, and core engaged the whole time.
Bonus tip: keep your eyes about 3-4 feet in front of you to help maintain your balance. Feel free to hold onto support for assistance as needed.
You can use a barbell, kettlebell, or dumbbells for this exercise. A kettlebell or dumbbell(s) are great especially if you’re just starting out.
Why single-leg RDLs are helpful for hikers: Single-leg RDLs are excellent for hip and ankle stability. This exercise will test and build your balance, which is crucial for hikers trekking on uneven or steep terrain. No rolled ankle ‘round here!
Another step up variation?! Yes, you read that correctly.
How to do cross over step ups:
1. Start with both feet on the box or bench.
2. Keep one foot on and cross the other foot behind and down to the ground. At the bottom of the position, you may feel a stretch through your glute.
3. Press up through the planted foot to come up through the glute and quad. Keep your knee in line with your second and third toes.
4. Repeat all reps on one side before switching to the other.
If you add weight to this exercise, use a single dumbbell or kettlebell and hold it on the outside of the working leg.
Why cross over step ups are helpful for hikers: Cross over step ups get a deep stretch through your glute, which helps encourage hip stability and strength necessary for navigating steep climbs.
How to do calf raises:
1. Stand with your feet under your hips and weights at your sides.
2. Raise your heels by using your calves.
3. Lower your heels back to the ground in a controlled manner.
Why calf raises are helpful for hikers: Your calves drive power in your stride. Calf raises train strength, power, and endurance for steep ascents, uneven terrain, and ankle stability overall.
Yup, more calf raises!
How to do single-leg calf raises:
1. Stand on one foot.
2. Press up through the ball of your foot to contract your calf.
3. Lower your heel back down to the ground in a controlled manner.
4. Use support to help with balance as needed.
Why single-leg calf raises are helpful for hikers: Single-leg calf raises help bridge the gap between each calf by performing this exercise unilaterally. Developing each calf individually drives power and endurance for uphill hiking.

Strength training your upper body is often overlooked for hikers. While hiking uses big muscle groups in the lower body, the upper body does play a part in posture, as well as when it comes to carrying a heavy pack. Build your upper body strength for hiking with the following exercises. Please note that all four of these movements are helpful to maintain a balance in the upper body with both a horizontal and vertical push and pull.
How to do single-arm rows:
1. Place one knee and hand on the bench to make an 'A' with your legs (bent knee and planted foot).
2. If your right foot is planted, your right hand will be holding the weight.
3. Drive your elbow back by using your lat and bicep. Stop your elbow at your side to avoid over rotating your shoulder forward.
4. It's okay to protract your shoulder blade to extend further in your lat before beginning the pull movement.
Consider using either a dumbbell, kettlebell, or cable machine for this exercise.
Why single-arm rows are helpful for hikers: Single-arm rows build strength and muscle in your upper- and mid-back. A strong back makes carrying a heavier pack easier on the trails.
How to chest press:
1. Lie on your back with your heels driving into the ground and shoulder blades pressed into the bench. You may have a slight arch in your lower back (this is okay!).
2. In a controlled manner, lower the weights down in line with your chest line (nipple line). Be sure to keep your elbows angled down and away from your shoulders. (Think: ~45-degree angles.)
3. Drive through your chest to press the weight back up.
4. Keep your wrists strong as if you were going to punch the ceiling.
You can use dumbbells or a barbell for this exercise.
Why chest press is helpful for hikers: Chest press is a compound exercise that helps keep your upper body well-rounded as a hiker. More importantly, it assists in posture management and prepares you to catch yourself in case you slip while navigating the trail.
How to do lat pull downs:
1. Grasp two handles or use a long bar attachment for this exercise.
2. Sit on a bench.
2. Keep a proud chest as you draw your elbows down toward your sides as you use your lats.
3. Bring the handles or bar back up in a controlled manner.
Why lat pull downs are helpful for hikers: Lat pull downs assist in improving posture and preparing you to carry a heavy pack on the trail.
How to single-arm overhead press:
1. Stand tall with feet between hip- and shoulder-width apart.
2. Create anywhere from a neutral grip to a 90-degree angle with one arm.
3. Press through your shoulder and extend at your elbow to push the weight up over your head.
4. Perform all reps on one side before switching to the other.
Why single-arm overhead press is helpful for hikers: Single-arm overhead press gets your scramble-ready, as well as improves posture.
Core strength goes beyond doing ab workouts to “feel the burn”. A strong core helps stabilize your body as you encounter uneven ground, navigate balancing on rocks or roots, and maintain posture with a heavy backpack in tow. When including core exercises in your training program, consider having an exercise in each of the categories: rotation, anti-rotation, prone and/or supine.

How to do suitcase carries:
1. Hold a weight in one hand.
2. Stay tall with your core engaged as you walk heel-toe.
Why suitcase carries are helpful for hikers: This anti-rotation exercise will increase core stability unilaterally. Remember: hiking is a unilateral activity, so this will be helpful for stabilizing your spine and hips.
How to wood chop:
1. Anchor the band or cable handle at about chest height.
2. Hold the handle with both hands.
3. Walk it out to give it some resistance to start.
4. Take a shoulder-width stance and keep both feet facing forward.
5. Rotate your torso by using your obliques.
6. Keep your shoulders square, even as you rotate.
7. Repeat all reps on one side before switching to the other.
Why wood chops are helpful for hikers: This rotational core exercise encourages core and spine stability. When you hike, you rotate your torso slightly so your opposite arm and leg move forward at the same time. Wood chops strengthen this natural rotation so you can hike longer with more ease.
How to do dead bugs:
1. Lie flat on your back.
2. Extend your arms over your chest and bend your knees with your feet off the ground. Start with your knees over your hips so your knees are at 90-degrees.
3. Extend opposite limbs out (left arm and right leg or right arm and left leg) while keeping the other two limbs stationary.
4. Keep your back flat against the ground with your core engaged the entire time.
5. Alternate sides.
Why dead bugs are helpful for hikers: Dead bugs help with both core and spine stability, as well as hip flexion necessary for ascending the trails.
Remember, if you want to get better at hiking, you need to hike.
If you don’t have access to a trail year-round, or at all, aim to get your hike-esque cardiovascular training in through other modalities such as running, incline walking, stair stepper, or elliptical. Other alternatives to keep up with your cardio are biking, swimming, rowing, ski erg, etc. It’s important to note that although these other methods are helpful for cross training and overall endurance, cardio that mimics hiking will prepare you even more. Specificity matters!
If you have access to a trail (within 1-2 hours drive) seasonally or year-round, aim to get out at least somewhere between 1-4x/month if your schedule allows. This will help get you acclimated to having your feet on dirt, practice on uneven terrain, and enjoy the scenery.
Are you training for your first 14er? Download our free Training Guide for Your First 14er.

The exercises recommended above can be in your training program year-round. The main changes throughout the year will involve volume, frequency, tempo, and rest times to encourage progressive overload.
As a general guide, start your workout with a compound exercise, then accessory exercises, followed by isolation exercises. Compound exercises are multi-joint movements, such as squats or deadlifts. Accessory exercises support compound exercises and/or support the overarching goal of improving your hiking abilities, such as single-leg RDLs, single-arm rows, etc. Isolation exercises focus on one muscle group and are less taxing on the body, such as calf raises.
A sample strength workout for hikers could look like:
A1. Squat
B1. Chest Press
C1. Single-leg RDL
C2. Single-arm Row
D1. Calf Raises
E1. Dead Bugs
Rep ranges, sets, tempo, and rest times will vary depending on the season and your goals. As a general guide, start with:
Compound exercises: 3-5 sets of 3-8 reps, rest 90 sec-3 min, 2-0-2-0 tempo
Accessory exercises: 2-3 sets of 6-12 reps, rest 60 sec-2 min, 2-0-2-0 tempo
Isolation exercises: 2-3 sets of 8-15 reps, rest 45 sec-90 sec, 2-1-2-1 tempo
Take the guesswork out of your training and join one of our hybrid training programs.

Mistake #1: Never doing unilateral exercises.
Movements like squats and deadlifts are important in a well-rounded program. AND single-sided exercises such as lunges, single-leg RDLs, and single-leg calf raises are also important as a hiker. Hiking is a unilateral activity – as previously mentioned, specificity matters.
Mistake #2: Only training the lower body.
Hiking may be a leg-focused activity, but your core and upper body need some love, too. Your posture and carrying a backpack rely on your legs AND upper body AND core to move efficiently and without discomfort.
Mistake #3: Only doing body weight.
Body weight exercises can be beneficial if: you are newer to exercise, you’re traveling, or you don’t have access to weights. It does make it more challenging to progress over time. You will likely outgrow body weight exercises and need to add weight to see continuous changes in your strength, power, and endurance. If you don’t have access to dumbbells, kettlebells, or a barbell, consider filling your hiking backpack with items in your home to add weight.
Mistake #4: Doing too much too soon.
It’s common to get excited about a new workout routine and go all in. This is also a recipe for burnout and potential injury if too much volume is added too quickly. Consider doing 1-2 strength days per week before increasing to 2, 3, or 4. The same goes for hiking and other cardiovascular exercise – ease into it by doing 1-2 days per week before increasing further. Volume management is important for sustainability and long-term progress.
Hiking is more than a lower body endurance activity. A well-rounded hiking training program includes hiking, additional cardiovascular activities, AND full body strength training. Avoid making the mistake of only hiking or only doing body weight squats and step ups to prepare for your hikes by starting a 7-day free trial of our hiking training plan, Kathletics Trail.
.png)
Katharine Moustakes is the founder, personal trainer, and running coach of Kathletics. She coaches runners, hikers, and outdoor enthusiasts to build strength and endurance that can be sustained all year long. Through the Kathletics blog, she shares practical advice to help athletes train smarter, stay consistent, and achieve their goals.
Get strength and endurance tips, running recs, and all the Kathletics updates right to your inbox.
